


Mascara Magic
Picture this: a set of rich, voluminous, dramatic lashes. Now picture this: clumped up, smudged, messy lashes that look nothing like you had in mind. It's perfectly fine. A lot of people have been there. I get asked a lot of questions about mascara tips and tricks - a lot of you want to know how you can enhance your routine to ensure getting the plump, voluminous lashes you dream of without the mess. Well, first of all you can watch my tutorial below on how to get fierce-as-funk lashes that flutter with feline perfection:
I've also got some #QuickTips to save you and trust me, you need to have these internalized in your beauty routine so you never have to think twice about any of them again!
1. Don't pump your wand. I've said this before (in my Sin Series post, by the way) and I'll say it again. A lot of ladies will find themselves pumping their mascara wand to coat it with the formula. Well, air bubbles will dry out your mascara and that will ensure clumping and messy lashes. Remember, gently rotate the wand inside the container to make sure you've coated it well.
2. Avoid the Clump. Once you've pulled the wand out of the tube, wipe off excess mascara from the tip. It's very important to get rid of the excesses because that will help reduce your change of clumping your lashes together with chunks of dried up product.
3. Wiggle and Swipe! If you watched my tutorial above, you'll realize that the perfect method for applying your mascara comes with two key moves: Wiggle and swipe. At the bottom, wriggle the wand to create depth and definition. As you start making for the tips, stop moving and then sweep upwards in a straight motion. This little trick thickens the base and lengthens the tips, without the clump.
4. Heat it Up. If your mascara is too dry or thick, you can soak the tube in some warm water for a few minutes before using it. This loosens it up and makes sure it's extra fluid when you're swiping it on.
5. Now Heat it Up Some More! You can also use heat for an ambitious lash curl. Heat up your lash curler with a blow-dryer before use to make sure you create a dramatic, flowing shape. However, it's very important to know that you need to only warm it up and not heat it till it's hot. You're working with a very sensitive spot and you should be extra careful.
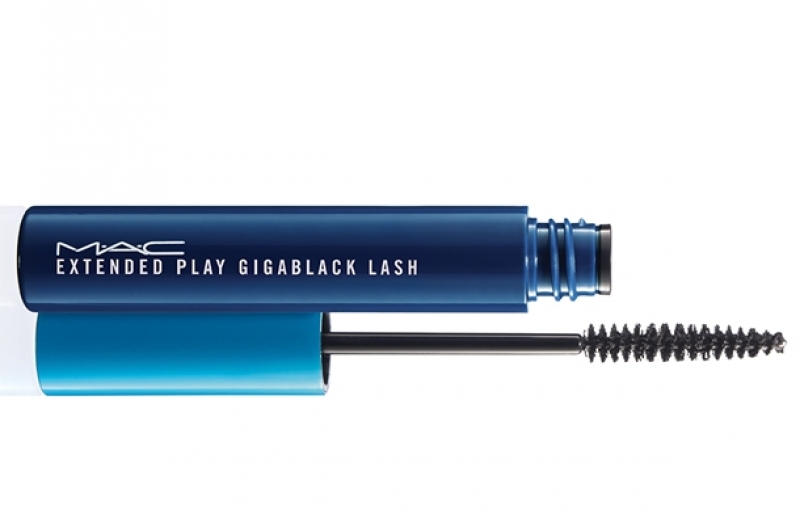
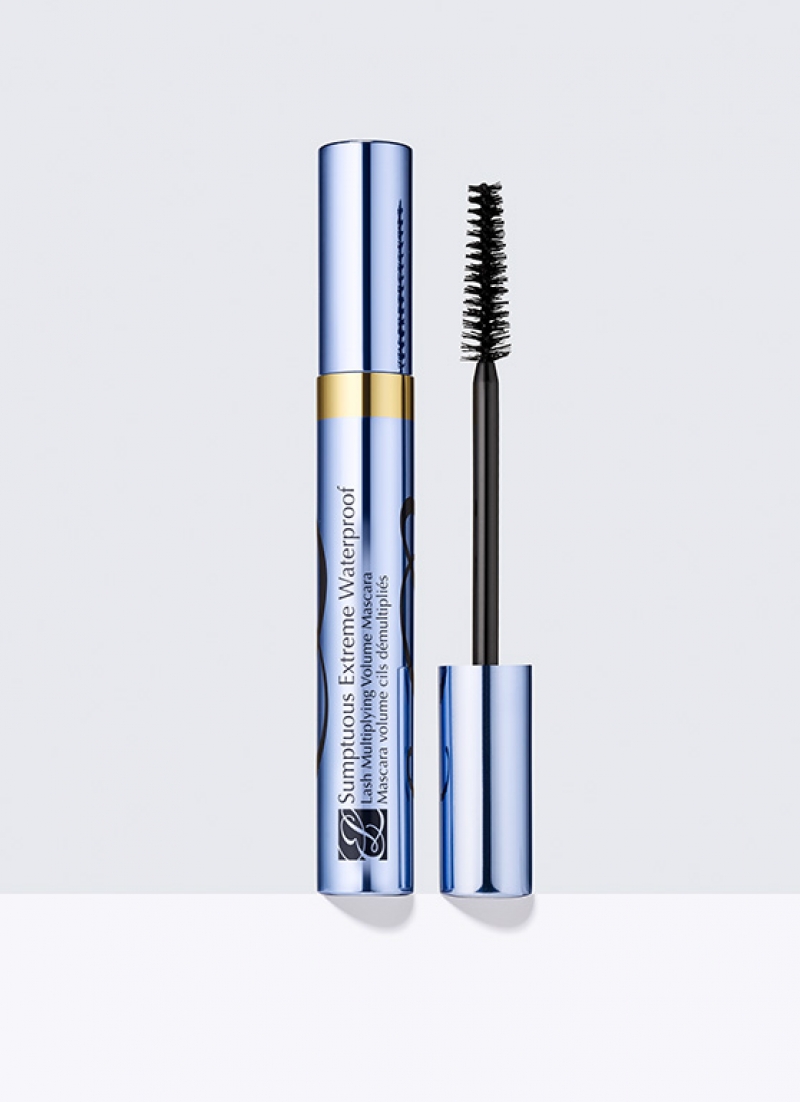
6. Go for Waterproofs! Waterproof mascara is always a strong, solid option that would never let you down. A trick would also be to use a coat of waterproof over a coat of regular mascara if you find yourself having a hard time to remove it before going to bed (As I had mentioned before, sleeping with any form of makeup on is bad, bad, bad!) My two all-time favorite waterproofs are either MAC's Extended Play Gigablack Lash mascara, which boasts a black-as-coal and super long-lasting formula, or Estee Lauder's Sumptuous Extreme Waterproof mascara - the waterproof equivalent to my favorite Sumptuous Infinite Estee Lauder mascara!

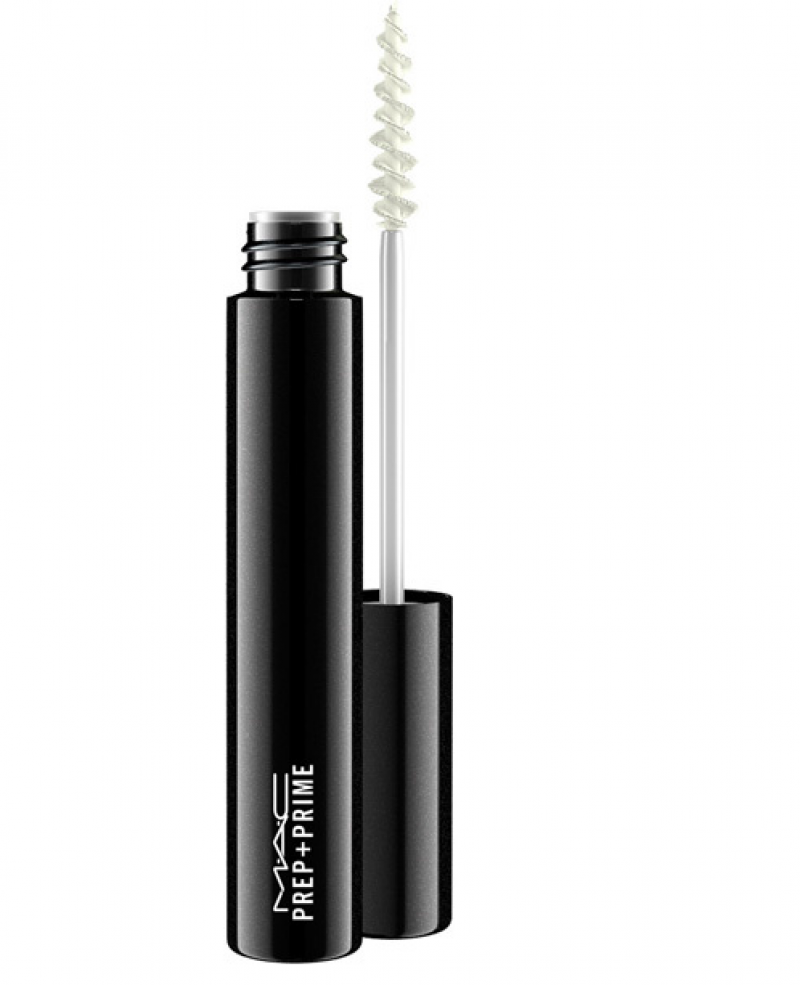
7. Prime it Up. Not a lot of ladies are aware that mascara primers exist. Well, just like face primers, which I've talked about in the past, quite a few times, lash primers help intensify the job of the actual mascara as well as makes rue it lasts longer. MAC's Prep + Prime Lash is absolutely perfect for that, but Estee Lauder's Little Black Primer primes up your lashes in three different ways - (1) independently, used as a mascara, (2) before applying your mascara to strengthen it, (3) after applying it, to set it. That's a first for lash primers!
Recent Posts
-
MAC Trends AW 2016 from Berlin!
-
Over a Million with #CelebratingArabWomen
-
#CelebratingArabWomen: The First Arab Women Empowerment Campaign
-
Get the look: Spring 2016 makeup by Hala Ajam
-
Hala Ajam Releases First Veiled Emoji
Related Articles
-
Winter-Proof Your Skin
-
Primer Roundup
-
Mascara Magic
-
Do You Know Your Makeup Life Span?
-
The Right Way to Apply your Eye Cream
